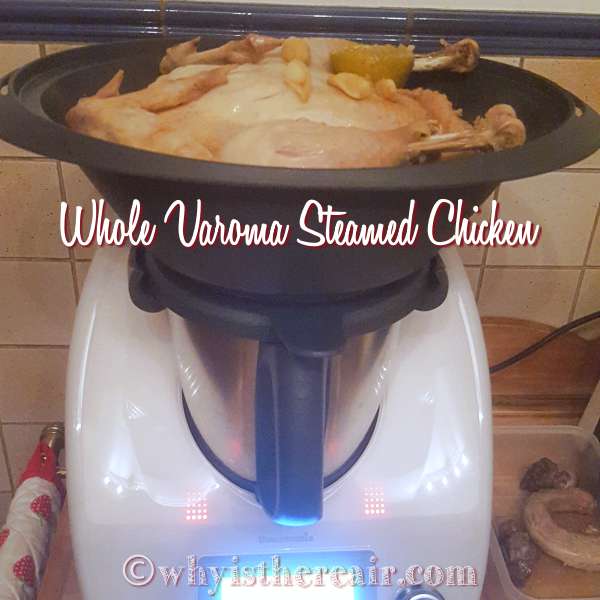
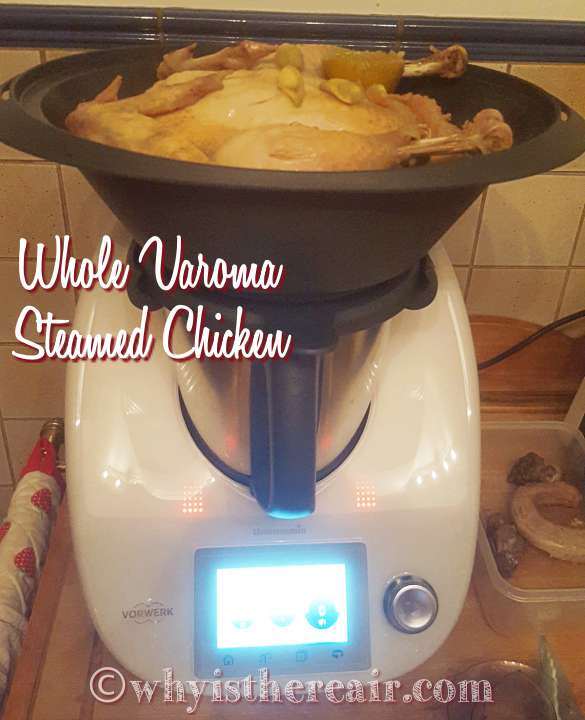
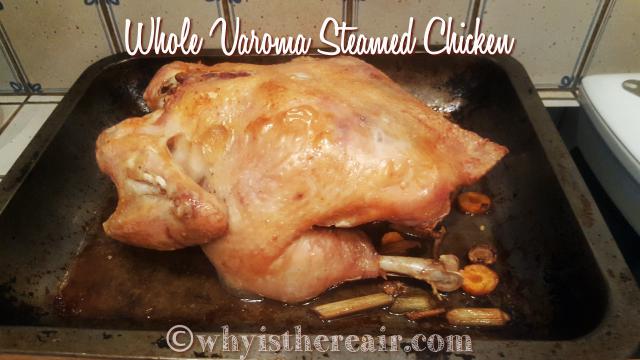
Whole Varoma Steamed Chicken
ThermoHubby John and I love chicken. John especially loves roast chicken with roast potatoes and gravy. We eat it every week and it’s never the same. Now that I have discovered that I can steam a whole chicken in the Varoma steamer of my Thermomix, we have been eating the moistest, tastiest chickens ever!
Here in France we typically get locally sourced chickens which are called “Le Poulet du Dimanche” which means Sunday Chicken, as in Sunday Roast but we eat it any day of the week 😉 These babies are free-range birds weighing in at anywhere from 1.8 kg to 2.3 kg and yes, they fit in the Varoma – just. In fact, my TM31 Varoma can handle up to 1.8 kgs and I just get the lid closed on my TM5 Varoma with a 2.3 kg bird. How big a bird can you fit into your Varoma?
Madame Thermomix’s top tip: Have your butcher break the bird’s sternum to flatten it and it will fit more easily. You can do this yourself by placing the whole bird on a flat surface and carefully pushing down hard on the crest of the breastbone with your hands.
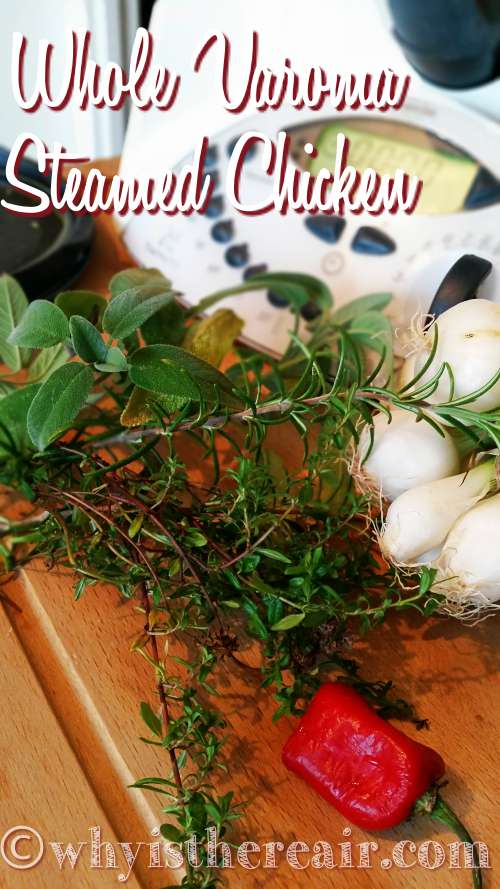
The niftiest thing about cooking a whole chicken in the Varoma steamer of your Thermomix is that you can flavour it in so many ways, either according to what you have in the refrigerator or based on classic flavour combinations. Here are some of ThermoHubby John’s and my favourites:
Thai style
Lemongrass, lime, garlic, ginger, chilli and basil (use Thai Basil if you have it) plus a dash of fish sauce
Italian or Provençal style
Onion, garlic, tomato and oregano or Herbes de Provence
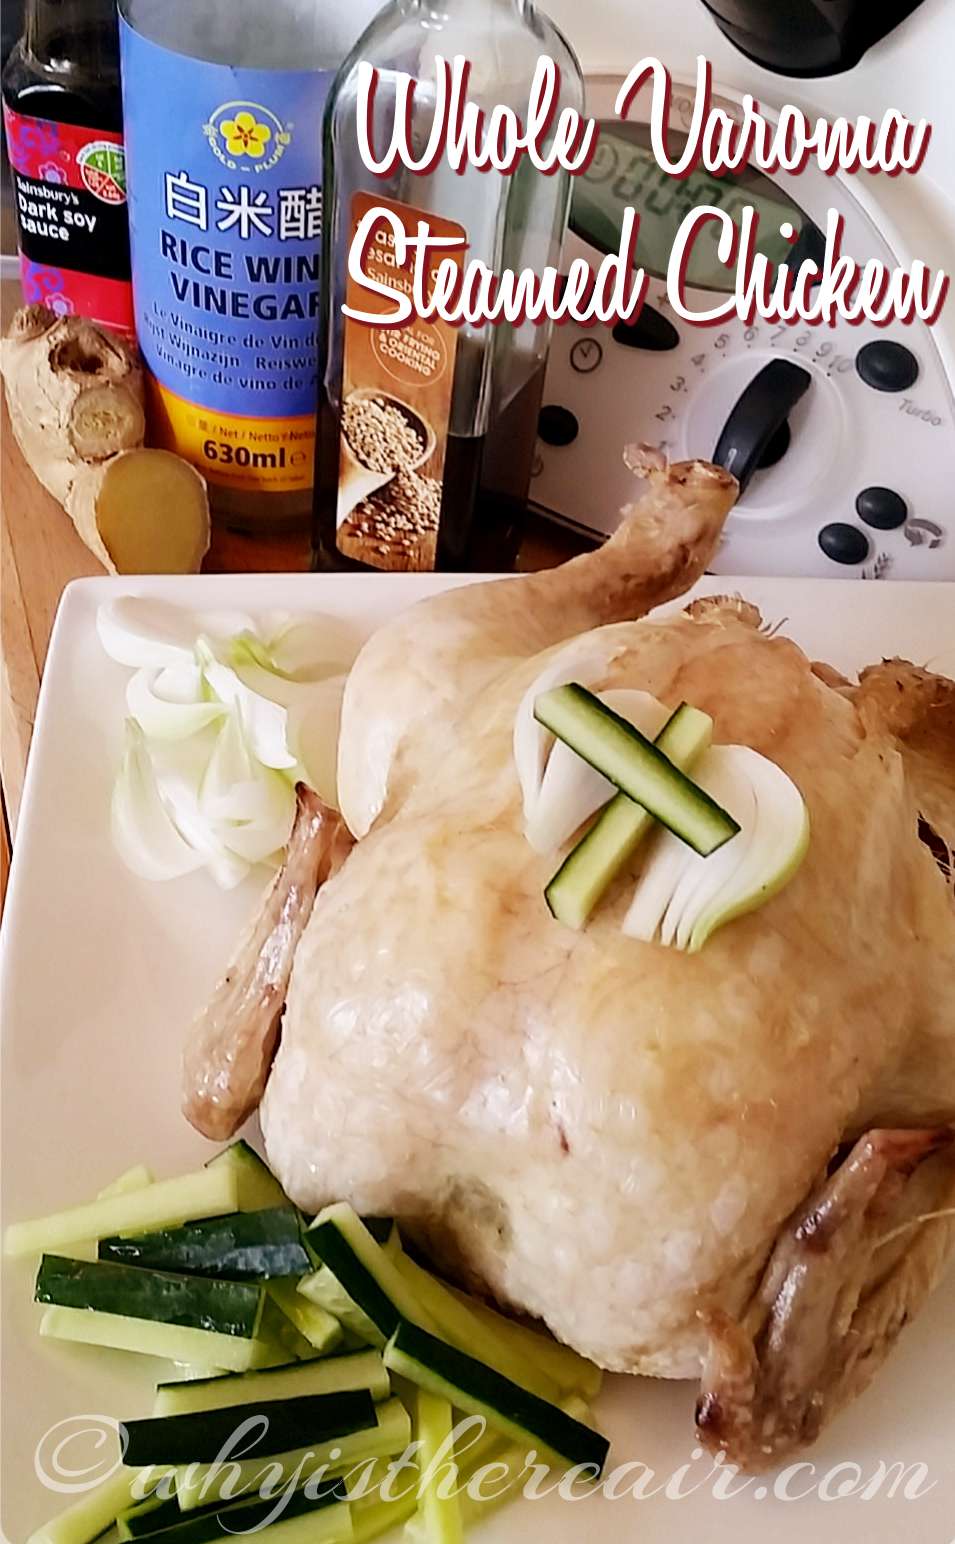
Chinese style
Spring onion, ginger, soy sauce, garlic
French style
Onion, garlic and a bouquet garni, i.e., a bunch of herbs such as thyme and parsley, tied together with a piece of celery and a bay leaf
English style
Butter and bacon on the outside and sage and onion on the inside
Use your imagination and create your own flavour combinations ! Just remember that whatever flavours you choose will drip delightfully down over the contents of your internal steamer basket and create your gravy, too. I’m drooling already 😉
Get creative with your steaming liquid, too. Water is versatile, and so are things like green tea, Earl Grey tea, jasmine or mint tea, etc. Get all the flavour you can from every part of your veg and throw the onion skins, carrot peelings and those dried out spring onion tips into your water. Ginger skin gives real zing and so do herbs of all kinds.
Did I say gravy? While you crisp up the skin of your steamed bird in the oven you can be reducing your cooking juices down into a rich, intense gravy. Add a bit of corn flour, plain flour, ground lentils or arrowroot to thicken. If there is too much liquid to reduce in the time you have available, save some for later and add it to the stock you’ll be making with the roasted bones from the carcass.
And speaking of the contents of your internal steamer basket, this is where you cook the starch and/or vegetables to go with your Whole Varoma Chicken. Rice, potatoes, celeriac, broccoli, bulgur, couscous, cauliflower or a mixture of any of these are some options. Chances are they won’t need as much steaming time as your chicken, so fill up the basket and pop it in about 20 minutes before the end.
Finally, I have to say, there’s not a lot yuckier than steamed chicken skin, so either remove it before steaming for a gorgeous low-fat meal or plan to crisp up the skin under the grill or in the oven while you make your gravy. You’ll see how in the instructions.
This may seem like a rather complicated way to cook a chicken but I think I’m just being thorough. Read through this whole blog post, pick out the things that catch your eye, read it again and then get ready to cook up the best bird you’ve ever had!
So here we go:
- A whole chicken, giblets removed, around 1.5 - 2 kg total weight - or up to about 2.3 kgs if you've done this before 😉
- Your choice of flavour ingredients (see examples above)
- Your choice of accompanying vegetables (see examples above)
- 500 g - 900 g water or other steaming liquid
- salt and pepper to taste
- Varoma steamer
- Internal Steamer Basket/Simmering Basket
- Thermomix spatula
- A roasting tin or baking tray
- If you're looking for a low-fat option, remove the skin from the entire bird, or at least from the breast and back. Otherwise, leave it be.
- Rinse the bird and loosely stuff with your chosen flavour ingredients. Save some to place on top of the bird, too. Add salt and pepper as required.
- Place the bird in the main dish of the Varoma. Loosen the wings and legs to allow steam to circulate. Make sure some of the holes of the steamer are visible for steam to get through.
- Check to see that the Varoma lid will sit properly on top of the dish. If it does, proceed with the next step. If not, remove the bird and press down carefully but hard on the crest of the breast bone to flatten the bird, then put it back in the Varoma.
- Scatter your remaining flavour ingredients around and on top of the chicken. Add things like fish sauce, soy sauce etc. as required. Place the lid on the Varoma and reserve.
- Now add your steaming liquid to the TM bowl. You'll need at the very least 500 g for an hour's steaming; I like to use about 750 g because it gives me enough juice to quickly reduce into gravy for the 2 of us. For more gravy, use more liquid and up to 900 - 1100 g. Don't forget that the bird and your vegetables will release a lot of their own juices and you'll most likely end up with more liquid than you started. On the other hand, if you cook some rice in your simmering basket this will absorb liquid so start off with at least 900 g.
- Feel free to season your steaming liquid with funky things like onion skins, garlic cloves and whatever else goes with your main flavour ingredients.
- When you're ready, place the lid on the TM bowl and place the Varoma steamer on top of the lid.
- Steam 60 minutes/Varoma setting/Speed 2 1/2. Check for doneness; when you prick the drumstick or the breast the juices should run clean. If juices are still a bit bloody, steam 15 to 30 minutes more and check again. More is better; the steam ensures that your bird will not dry out.
- You can add your simmering basket filled with rice/potatoes/starch/veg about 20 minutes before the end of cooking time - or - you can steam your accompaniments while you reduce your cooking juices down into your gravy. Don't forget to make a "chimney" in the centre for steam to rise through.
- Preheat your oven on a medium grill setting, or if you've decided to do some proper roast potatoes, put them on the bottom rack to finish roasting and make room for your big bird on the upper shelf.
- Once your chicken is thoroughly cooked, carefully remove the Varoma lid and set it upside down on the worktop. Carefully remove the Varoma dish and place it on the upturned lid. Do this carefully so as to catch all the juices that have collected inside the bird - and don't scald yourself!
- Place the cooked bird on a baking tray or in a roasting tin and pop it under the grill/in the oven to crisp up the skin. ***Watch it carefully, as this can take anywhere from 5 to 20 minutes, depending on oven temp, grill setting, rack height, etc., etc.*** Don't let the skin burn, just keep it in there until it gets lovely, crisp and golden.
- While the chicken is crisping up in the oven, carefully remove the simmering basket from the TM bowl using the very clever little hook on the spatula. Keep your starch and/or veg warm in a ThermoServer or in a dish covered with kitchen foil. You can pop this into the oven if there's room.
- Very, very carefully tip any juices from the Varoma lid into the TM bowl and check the total liquid for quantity and consistency. Is there enough liquid for your gravy? Is it thick enough? Does it need seasoning?
- If your liquid isn't thick enough, reduce it down to gravy on Varoma setting/Speed 2. Start with 5 minutes and repeat as necessary until you get the taste, consistency and thickness you want. This isn't an exact science so check every 5 minutes until you get used to doing this. If you're in a hurry or like thick gravy, add some thickener (flour, corn flour, ground lentils, etc.).
- Remove your chicken from the oven when the skin is crisp and golden, let it rest while you serve up the vegetables, and get someone else to carve it while you have a much-deserved glass of wine 😉
- Bon appétit with Why is There Air!