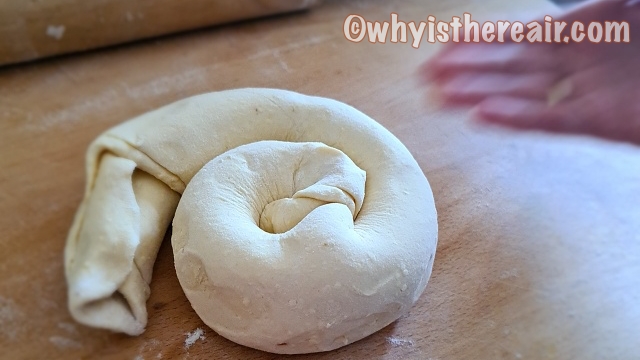
Thermomix Rough Puff Pastry
has a multitude of uses. Here’s a quick video showing the Thermomix France “Snail Method” for making it extra quick !
Eat food, drink wine, cook with Thermomix


has a multitude of uses. Here’s a quick video showing the Thermomix France “Snail Method” for making it extra quick !
Make yourself a sugar-free Virgin Mojito in just one easy step in your Thermomix!
This White Pizza Sauce is really #fastandeasy to make in your Thermomix. And it is absolutely delicious, too!
Thermomix Blinis are a doddle to make! Just 5 minutes and you’ve got a batch of fluffy, delicious pancakes to garnish as you like.
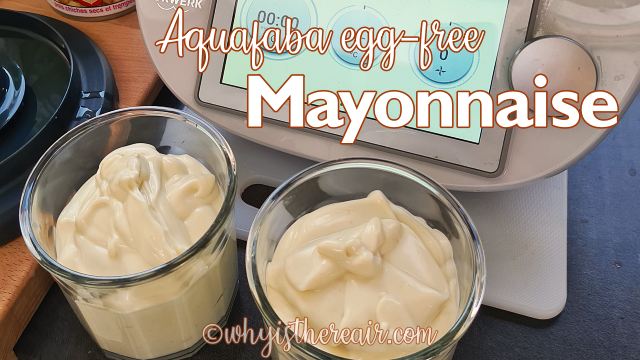
A delicious alternative to traditional mayonnaise that you can use in all the same ways. Egg-free, dairy-free, vegetarian, vegan, and just plain good!